Logo Placement Guide: The 8 T-Shirt Print Locations and the Right Size for Each
August 12, 2026 · 11 min read
So you've got a logo, and now you need to figure out where it goes on a shirt. It sounds simple until you're staring at a blank mockup, wondering if your design belongs on the chest or the back. This is exactly where most custom apparel orders go sideways.
Here's the good news: t-shirt logo placement isn't a mystery. The industry has settled on eight standard print locations, each with its own size, positioning, and best use case. At RELYmedia, we've printed thousands of branded shirts for businesses, event teams, and organizations across the country, and this logo placement guide breaks down what actually works and why, whether you call it a t-shirt design placement guide, a print positioning guide, or simply a shirt placement guide.
Whether you're ordering staff uniforms, promotional t-shirts for a trade show, or event merchandise for a fundraiser, you'll walk away knowing exactly where to place the logo on shirt designs for the best result.
Quick Reference: Standard Print Locations
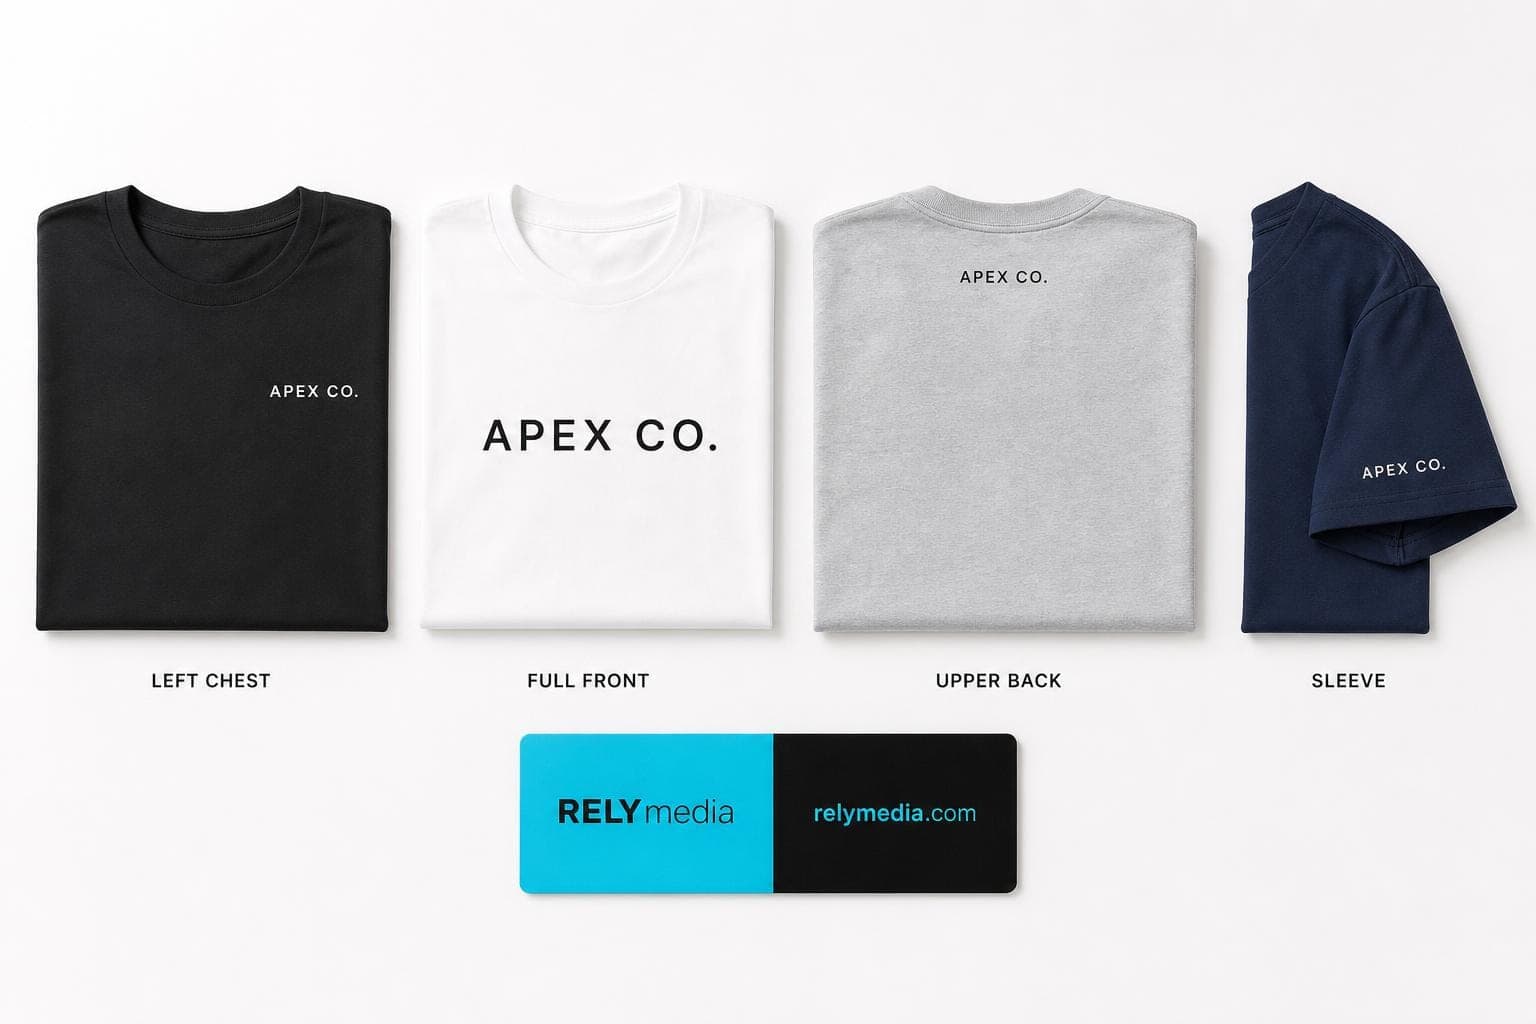
| Print Location | Standard Size | Placement from Collar | Best For |
|---|---|---|---|
| Left Chest | 3"–4" wide | ~3" down | Uniforms, simple logos |
| Center Chest | 6"–10" wide | ~4" down | Balanced front branding |
| Full Front | 12"w x 14"h | ~3" down | Bold, single-focus designs |
| Oversize Front | Up to 14"w x 16.5"h | ~2"–3" down | Statement graphics |
| Collar / Yoke | 2"–3" wide | ~1" from collar edge | Small logos, subtle branding |
| Upper Back | 12"–14" wide | ~4" down | Staff, security, event text |
| Full Back | 12"w x 14"h (up to 14.5"x16.5") | Lower than upper back | Large, colorful artwork |
| Sleeves | 3"–4.5" wide | ~1" from hem | Small marks, sponsor logos |
Key Terms Worth Knowing
Before you send over artwork, a few terms will help you communicate print placement clearly to any print shop:
- Print placement – the exact measured position of your design on the garment
- Print area – the surface area the ink or transfer actually covers
- Print size – the precise dimensions of the artwork itself
- Print dimensions – the width and height of your design, used interchangeably with print measurement
- Anchor point – the part of an asymmetrical design that should be centered, rather than using the design's literal midpoint
- Print layout – how multiple print locations on one garment work together
- Print proof or print mockup – a preview showing exact artwork placement before production
These terms cover most of what a print shop needs from you upfront, and getting the print setup right the first time saves a round of revisions during print production.
Left Chest
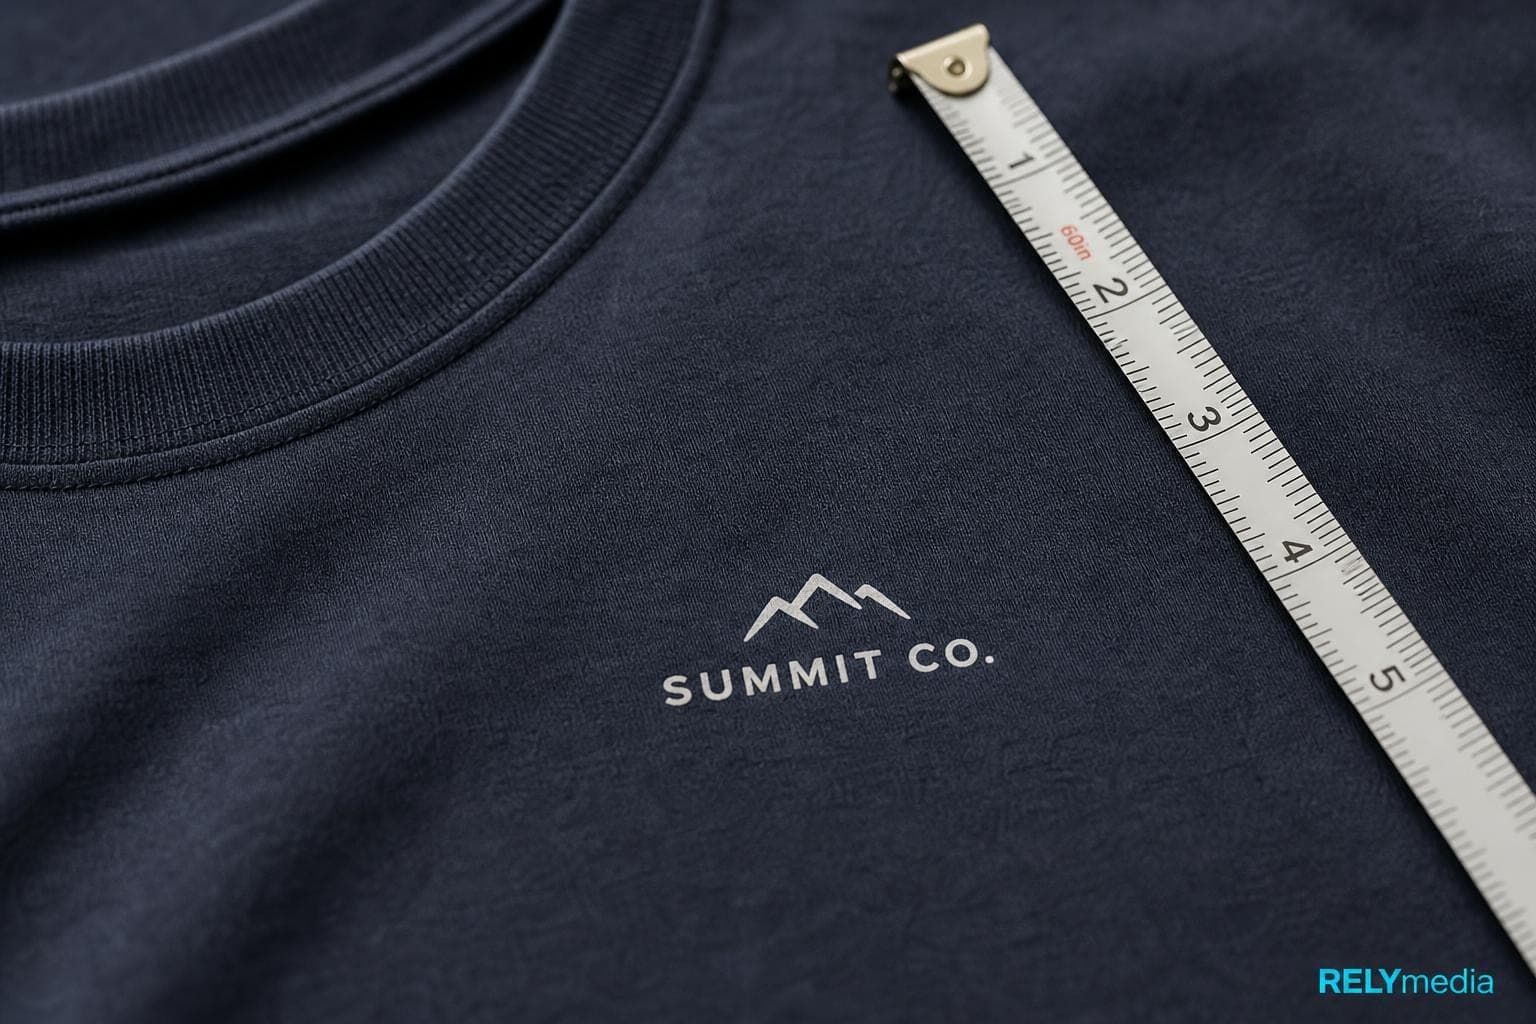
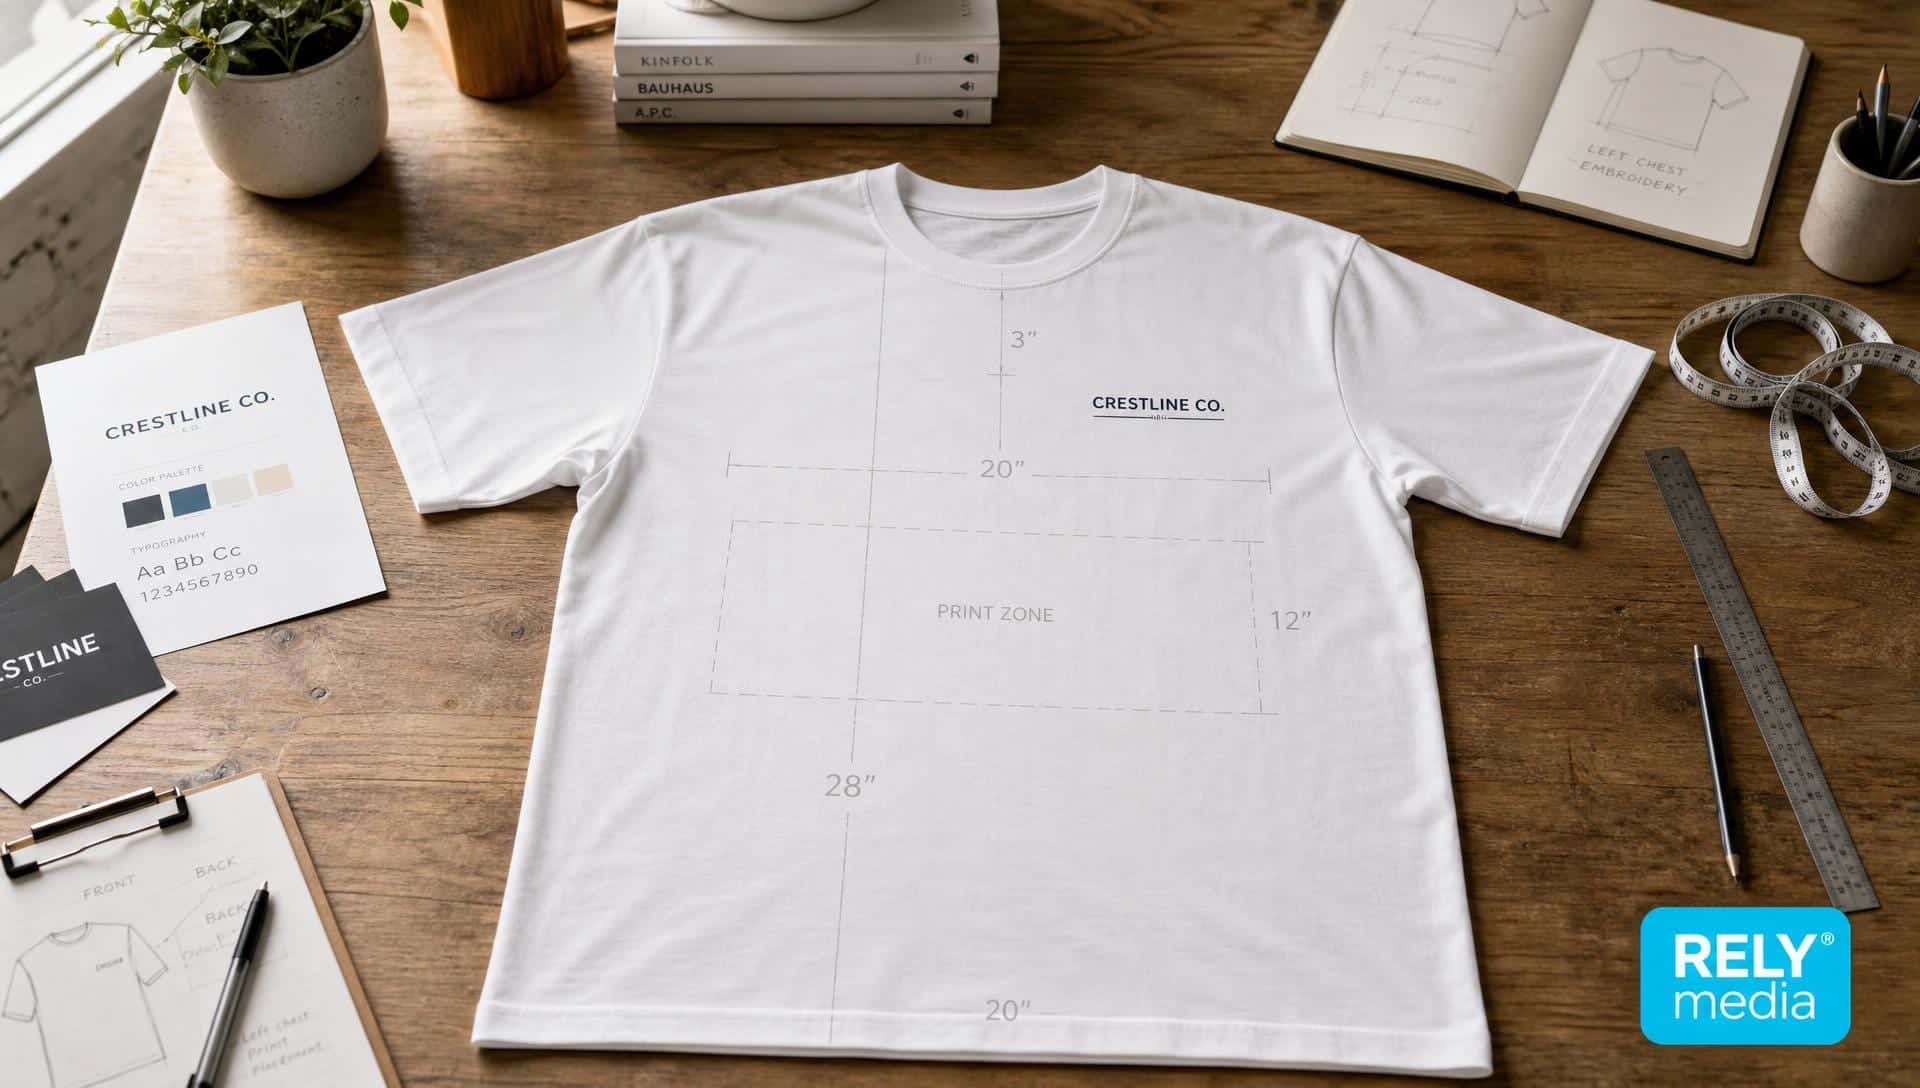
Left chest logo placement is the classic choice for company logo shirts, staff uniforms, and corporate apparel. It's understated, professional, and works across almost any garment.
Standard Size & Placement: A left-chest print typically runs 3" to 4" wide and is positioned about 3 inches down from the collar. This sits on the wearer's left, not the viewer's left, so keep that orientation in mind when briefing your print shop.
Best For: Because the print area is compact, left chest logo placement favors simple designs over detailed artwork. A logo with fine lines or small text loses clarity at this scale, so logo simplification usually happens before production. Our art department handles this at no extra charge for most orders.
A common combo pairs a left-chest logo with a full-back print. The chest carries a simple brand mark; the back holds more detailed artwork. This layout reads as polished branded merchandise rather than a walking billboard.
Center Chest
The center-chest logo placement sits exactly where it sounds: dead center on the chest, slightly larger than a left-chest print. This location stays visible even under an open jacket or unzipped hoodie.
Standard Size & Placement: The range runs 6" to 10" wide, with 8" as a solid average, positioned about 4 inches down from the collar.
Full Front vs. Center Chest: If your garment sizes lean toward youth apparel printing or smaller adult cuts, center chest placement keeps things proportional. If your order skews toward 3XL and larger, adult shirt printing with a full front print often looks more balanced. Matching the print location to your size range matters more than most people expect.
Full Front
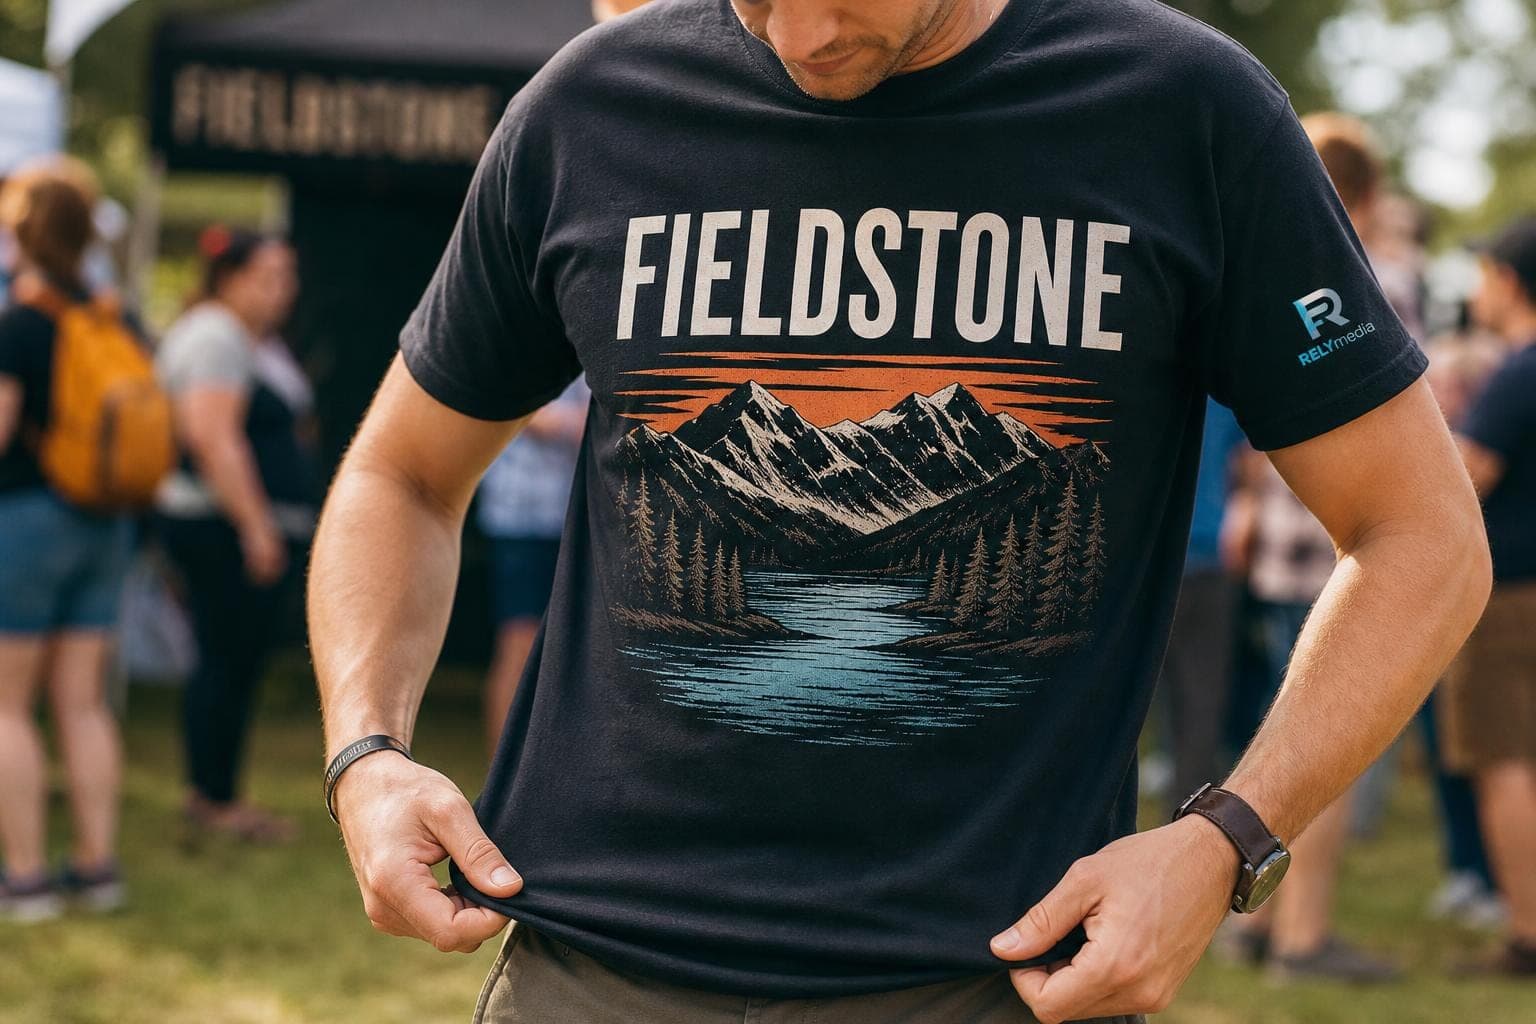
Full front print placement is the most requested location on a custom t-shirt, and it's what most people mean when they just say “the front” of a design.
Standard Size & Placement: Standard print size for a full front is 12" wide by 14" tall, sitting about 3 inches down from the collar.
Managing Ink Coverage: A large front design can create what printers call a “sweat patch,” a heavy print with a solid layer of ink that reduces breathability. If your artwork covers a lot of surface area, consider inverting solid sections or adding negative space. This keeps the print flexible and comfortable enough that people actually want to wear the shirt again.
“The goal isn't just a big logo. It's a shirt someone reaches for again next week.”
That's the print quality standard we hold every full front order to.
Oversize Front
Oversize print placement goes beyond standard full front dimensions, and while it's not the most common request, plenty of brands want that bold, oversized graphic look.
Standard Size & Placement: The maximum print size for an oversized front generally runs up to 14" wide by 16.5" tall, starting higher on the garment, roughly 2 to 3 inches down from the collar.
Garment Size Restrictions: Youth sizes, smaller ladies' cuts, and tank tops usually can't accommodate a 14-inch-wide print. If your order includes a mix of sizes, plan for two separate print dimensions rather than forcing one size across the board. It's a small adjustment in garment sizing that keeps every shirt in the batch looking intentional rather than stretched.
Collar / Small Upper Back (Yoke)
Also called a yoke print or back collar print, this location sits just below the back collar and has become a standard rather than an alternative over the past several years.
Standard Size & Placement: This print runs smaller, typically 2" to 3" wide, positioned about 1 inch from the collar edge. Some designs work at sizes as small as 1 inch.
Pairing with a Full Back: You can run a collar print and a full back print on the same shirt for the cost of a single back print, as long as there's enough space between the two designs. It's an efficient way to add a subtle brand touch without ordering an extra print location.
Upper Back
Upper back print placement sits across the shoulder blades, and it's the go-to spot for bold, readable text: think event staff, security teams, or a hashtag campaign.
Standard Size & Placement: This print typically runs 12" to 14" wide, positioned about 4 inches down from the collar, large enough to read from across a room or a crowd.
Font Tips for Legibility: If your text-based design doesn't look bold enough at maximum width, reach for a taller, naturally bold font rather than stretching a regular one vertically. Stretched fonts distort and become harder to read at a distance, which defeats the purpose of an upper back print in the first place.
Full Back
Full back print placement ranks as the second-most popular location after the full front, and it sits slightly lower, with more room to work with.
Standard Size & Placement: The standard runs 12" wide by 14" tall, with room to go up to 14.5" by 16.5" on larger garments.
Best For: Colorful, multicolor print designs belong here. Save single-color print and simplified artwork for the chest and sleeves, and let the back carry the more complex full-color printing.
Sponsor Logo Tiers: For event shirts with multiple sponsor logos, sponsor placement by tier works well: larger logos near the top for top-tier sponsors, smaller ones cascading down. It keeps sponsor branding organized and easy to read at a glance.
Sleeves
Sleeve logo placement rounds out the standard print locations, and like the left chest, it favors smaller, simpler artwork.
Standard Size & Placement: Sleeve prints typically run around 3" wide, with a range from 1" up to 4.5" for wider logos. Standard placement sits about an inch from the hem.
Left Sleeve vs. Right Sleeve: If you're running a left chest logo, put your right sleeve print on the opposite side to balance the layout. If your front design is a center chest or full front, either left sleeve logo or right sleeve print works fine. One quirky rule: an American flag on a sleeve should always have the stars facing forward.
Logo Placement by Garment Type
Standard measurements shift depending on the garment:
- Hoodies often need placement adjusted for the front pocket and hood seam so that hoodie logo placement may sit a bit lower than on a t-shirt
- Polo shirt logo placement works best as a left chest logo, since a polo’s collar and buttons limit larger print areas
- Tank tops typically need a narrower print width due to reduced fabric surface, especially on racerback styles
- Youth apparel printing needs scaled-down dimensions across every location, not just the front
- Sweatpants and jackets usually carry a small logo near the hip or chest, similar in scale to a sleeve print
Keep these adjustments in mind before finalizing artwork sizing, since a size that works on an adult large won't always translate to a youth medium or a tank top.
Fabric, Comfort, and Print Quality
Print location decisions don't happen in a vacuum — fabric matters just as much. Cotton t-shirts hold ink differently than polyester shirts or blended fabric apparel, which affects both ink distribution and how breathable the final print feels.
A few things that affect comfort and durability:
- Ink density – heavier ink density can feel stiff on lightweight fabric, so oversized or full front prints often benefit from a lighter touch
- Breathable fabric print – reducing solid ink coverage keeps the garment soft-hand and wearable in warm weather
- Vibrant colors – full-color printing techniques like DTF transfers reproduce gradients and vibrant colors better than traditional screen printing
- Durable print – proper curing and print finishing determine whether a design stays with long-lasting print quality through repeated washes
Choosing the Right Print Method for Your Placement
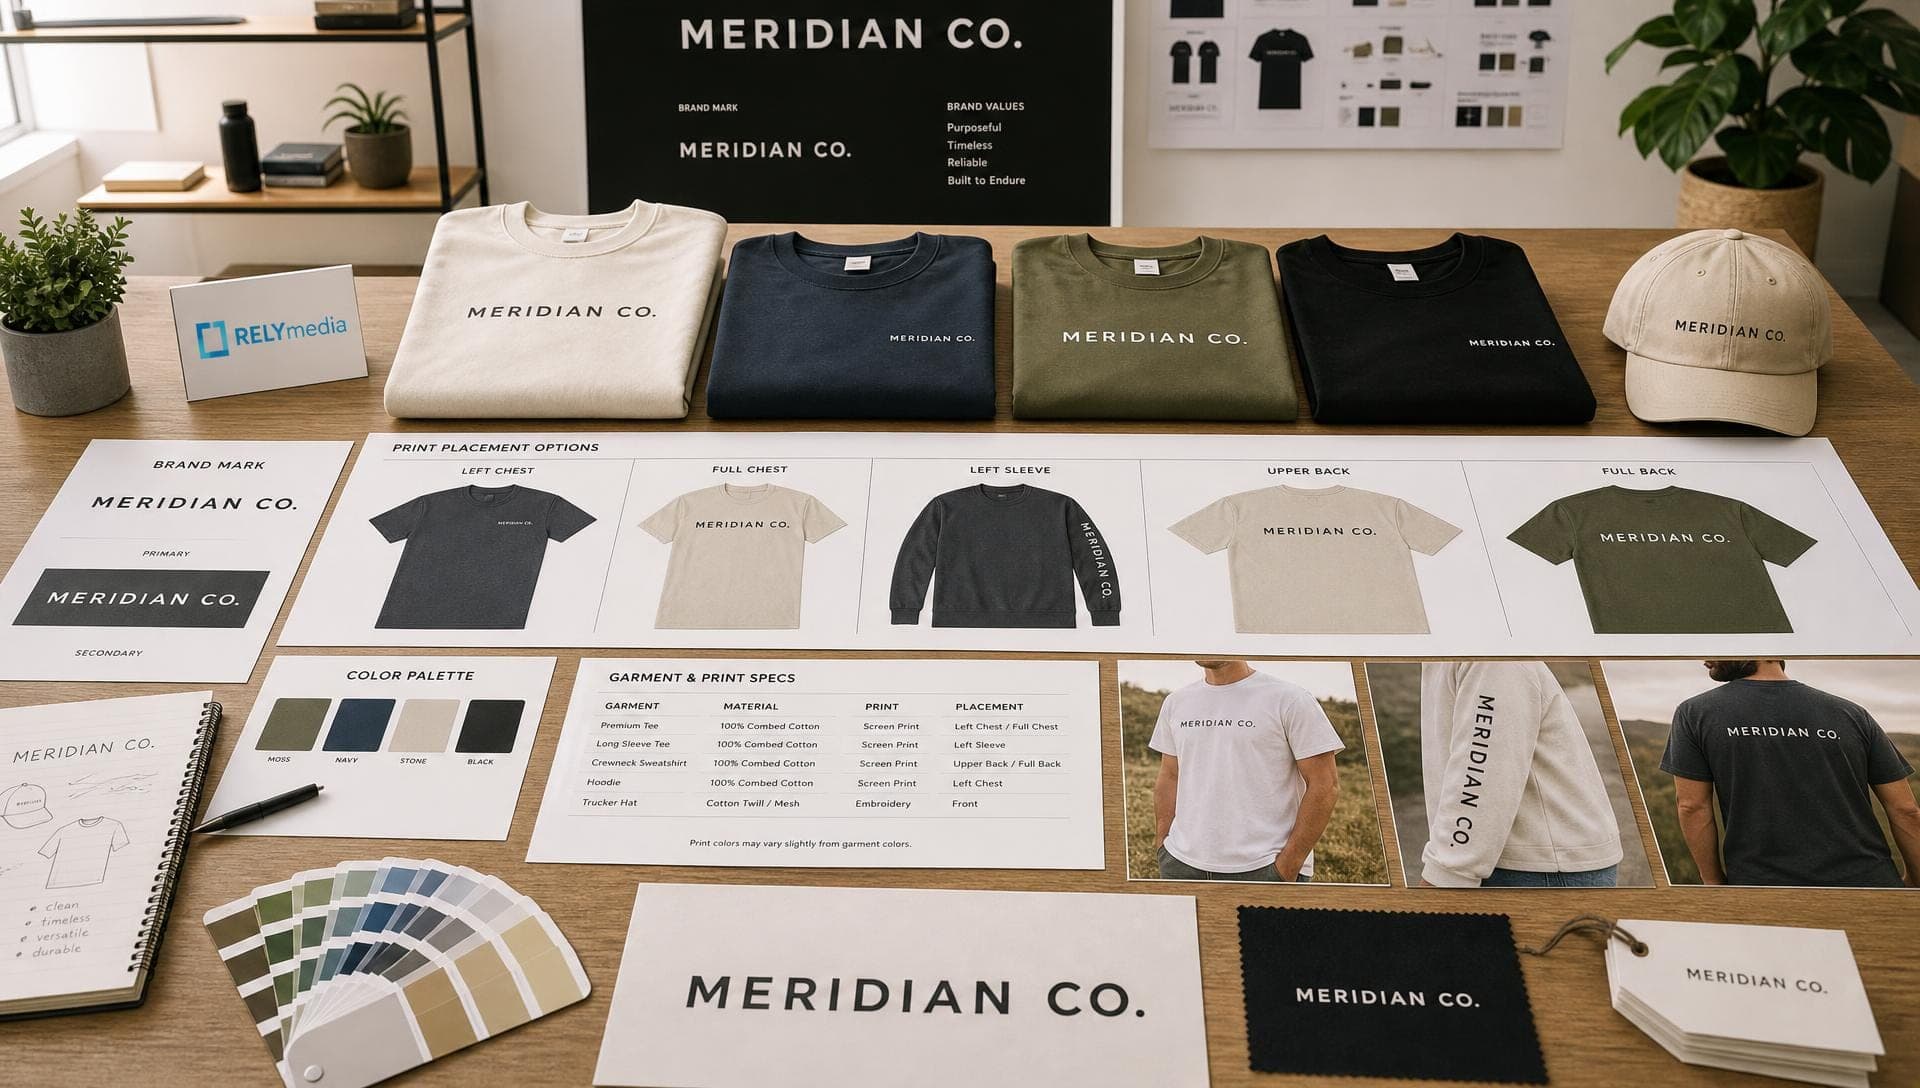
The print location you choose also affects which printing method makes sense:
- Screen printing works well for bold, simple designs at any location, especially bulk orders like promotional t-shirts or branded uniform printing
- DTF transfers (direct-to-film printing) handle detailed, multicolor artwork well, making them a strong option for full front or full back designs with photographic detail
- Digital printing suits smaller runs or gradient-heavy designs, particularly for center chest or sleeve placements
Talk to your print shop about your design's detail level before locking in a print method. The right combination of custom logo placement and technique is what makes a shirt look professional instead of homemade.
Who Uses These Print Locations
Different orders lean on different placements. Here's how it typically breaks down:
- Trade show apparel and conference shirts – left chest or center chest for a clean, professional look
- Fundraiser shirts and volunteer shirts – full front or full back for maximum visibility
- Sports team shirts and school spirit wear – upper back for names and numbers, full front for mascots
- Nonprofit apparel and retail merchandise – left chest for subtle branded clothing, full back for statement designs
- Workwear branding and corporate uniforms – left chest paired with a back collar print for a layered, professional finish
Why Placement Affects Brand Impact
Logo placement is part of your visual identity, not just a production detail. The right print location supports brand recognition and brand visibility every time someone wears the shirt out in public — at a conference, a 5K, or just running errands. That's wearable advertising you don't have to pay for twice.
A thoughtful merchandising strategy treats apparel branding the way it treats any other marketing shirt investment: placement should match how and where the shirt gets worn, not just what looks good in a mockup photo.
Ready to put your logo on custom apparel that actually represents your brand well?
Reach out to RELYmedia and let our design and production team guide you through the process from first sketch to finished shirt.
Ready to print your team's name on premium apparel?
Fill in your details and a RELYmedia specialist will come back to you with a custom quote — fast turnaround, no obligation.
- ⚡Same-day response on business days
- 🎨Free design assistance included
- 🚚Rush order & fast delivery available
- 💰Price beat guarantee on every order
Shop custom t-shirts
See all custom t-shirts
American Apparel Unisex Heavyweight Cotton T-Shirt
$8.90 - $10.90
View product
Custom Adult Unisex Cotton Short Sleeve T-Shirt MOQ 10pcs
$2.67 - $9.01
View product
Bella Canvas® Unisex Cotton T-Shirts
$9.44 - $10.73
View product
Cotton T-Shirt: Gray
$20.00
View product
Cotnwell Men's Full Color 180g 100% Cotton T-Shirt
$5.23 - $8.27
View product
CloudHuggie Youth Full Color 230g 100% Cotton T-Shirt
$6.88 - $10.89
View product
Best Seller Custom Cotton T-Shirts - Men's & Ladies
$3.21 - $4.78
View product
Cotton T-shirt
$6.65 - $8.91
View product
Logo Placement FAQs
What side does a logo go on a shirt?
Left chest logo placement refers to the wearer's left side, not the viewer's left. It's the standard for uniforms and corporate apparel.
How far down from the collar should a design sit?
It depends on the location. Left chest sits about 3 inches down, full front and full back run similarly, and upper back locations sit around 4 inches down.
What size should a logo be on a shirt?
For a left chest logo, 3" to 4" wide is standard. A full front print typically runs 12" wide by 14" tall.
Should a logo go on the left or right side?
Left chest is the standard, but a right chest print isn't wrong. It's simply less common, so mention it clearly when you place your order.
How big should a pocket logo be?
A pocket-area logo generally matches left chest sizing, around 2" to 3" wide, since it needs to stay proportional to a small print area.
What size graphic works for the front of a shirt?
For a full front design, 12" by 14" is standard. For an oversized front print, you can go up to 14" by 16.5" depending on garment size.
Conclusion
Logo placement isn't just a formatting detail. It's part of how your brand shows up in the world, whether that's on staff uniforms, event merchandise, or promotional giveaways at a trade show. Getting the print location, size, and placement right the first time saves you a reprint and makes sure your branded apparel actually gets worn.
At RELYmedia, we work through these exact decisions with clients every day, matching print locations to garment types, order sizes, and branding goals. Hence, the final product looks intentional rather than accidental. Our project specialists and art department handle everything from artwork sizing to print method recommendations, backed by fast turnaround times and a reputation built on hundreds of five-star reviews.
Ready to get started?
Request a free quote from RELYmedia today and let our project specialists help you choose the right print location for your next order.
Frequently asked questions
Where should a logo be placed on a shirt?
Most shirts use one of eight standard placements: left chest, center chest, full front, oversize front, back collar/yoke, upper back, full back, or sleeves. Left chest is common for uniforms and company shirts. Full front and full back are popular for maximum visibility, while upper back works well for bold text like staff or event roles.
What is the best way to place a logo on a shirt?
Use standard measurements and match the placement to your design detail and use case. Left chest and sleeves favor simpler logos because the print area is small. For detailed or multicolor artwork, full front or full back gives more room. A common layout is a small left-chest logo paired with a full-back design for a balanced, professional look.
What is the golden rule for logos?
Keep the design readable at the size required by the placement, and center it correctly. Small placements like left chest often need simplified artwork because fine lines and small text lose clarity at 3 to 4 inches wide. For asymmetrical designs, use an anchor point to center the design by its visual balance rather than its literal midpoint.
How far down should I put a logo on a shirt?
It depends on the location. Left chest is typically about 3 inches down from the collar, while center chest is about 4 inches down. Full front often sits about 3 inches down, and oversize front generally starts higher, about 2 to 3 inches down. Upper back placement is usually about 4 inches down from the collar.
What size should a left chest logo be on a shirt?
A left chest logo is typically 3 to 4 inches wide and positioned about 3 inches down from the collar on the wearer’s left side. Because the print area is compact, simple marks usually work best. If a logo has fine lines or small text, it often needs simplification so the details stay clear at that scale.
Where do sleeve logos usually go on a shirt?
Sleeve prints are typically around 3 inches wide, with a practical range from about 1 inch up to 4.5 inches for wider logos. Standard placement sits about 1 inch from the sleeve hem. If you also have a left chest logo, placing the sleeve logo on the right sleeve can help balance the overall layout.
Shop this
Need custom shirts with your logo? We print them.
Bulk pricing, three free mockups, real quotes back the same business day.